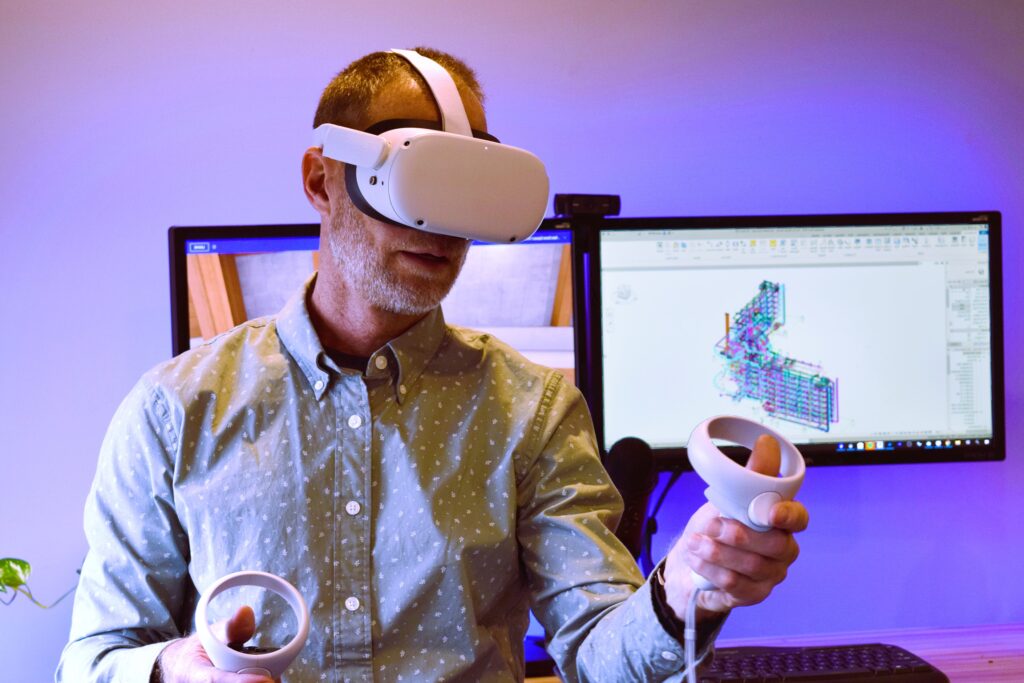
Virtual Reality (VR) has revolutionized the way we play games, and experiencing Grand Theft Auto (GTA) in VR takes immersion to a whole new level. However, to truly enjoy the adrenaline-fueled excitement of navigating the streets of Los Santos in virtual reality, it’s essential to set up your VR equipment properly. In this VR Setup Guide, we’ll walk you through the steps to optimize your VR experience for GTA.
Step 1: Choose the Right VR Headset
The first step in setting up your VR experience for GTA is choosing the right VR headset. There are several options available on the market, each with its own features and capabilities. Popular choices include the Oculus Rift, HTC Vive, PlayStation VR, and Valve Index. Consider factors such as display resolution, tracking accuracy, comfort, and compatibility with your gaming platform when making your selection.

Step 2: Install the Necessary Software
Once you’ve chosen your VR headset, the next step is to install the necessary software on your gaming platform. This typically includes downloading and installing the VR software provided by the manufacturer of your headset, as well as any additional drivers or updates required for compatibility with your system.
Step 3: Set Up Your Play Space
Before diving into the virtual world of GTA, it’s important to set up your play space for optimal comfort and safety. Clear a sufficient area free of obstacles and hazards, and make sure there is adequate room for you to move around and fully immerse yourself in the VR experience. Consider using a VR mat or boundary system to define your play area and prevent collisions with walls or furniture.
Step 4: Calibrate Your VR Equipment
Calibrating your VR equipment ensures accurate tracking and a smooth gameplay experience. Follow the instructions provided by your VR headset manufacturer to calibrate your headset, controllers, and tracking sensors. This may involve adjusting settings such as IPD (interpupillary distance), controller sensitivity, and tracking volume to suit your preferences and play style.
Step 5: Adjust Graphics and Performance Settings
To optimize your VR experience for GTA, it’s important to adjust graphics and performance settings to achieve smooth gameplay and minimize motion sickness. Experiment with settings such as resolution, refresh rate, texture quality, and anti-aliasing to find the right balance between visual fidelity and performance. Additionally, consider enabling features such as smooth locomotion and comfort options to enhance comfort during extended play sessions.
Step 6: Test and Fine-Tune
Once you’ve completed the setup process, take some time to test your VR setup with GTA and fine-tune any settings as needed. Pay attention to factors such as frame rate, motion sickness, and overall comfort level while playing. Make adjustments as necessary to ensure an enjoyable and immersive experience without discomfort or technical issues.

Step 7: Enjoy Your Virtual Adventure
With your VR setup optimized for GTA, it’s time to embark on your virtual adventure through the sprawling metropolis of Los Santos. Whether you’re cruising down the highway in a stolen sports car, engaging in epic gunfights with rival gangs, or simply exploring the vibrant streets and landmarks of the city, immerse yourself fully in the world of GTA and let the virtual reality experience transport you to new heights of excitement and immersion.
By following this VR Setup Guide, you can ensure that your virtual reality experience with GTA is optimized for maximum enjoyment and immersion. So gear up, strap in, and get ready to dive headfirst into the adrenaline-pumping world of Grand Theft Auto in virtual reality. The city awaits, and the adventure of a lifetime is just a headset away.
